How to Choose the Right LED Driver?
Choosing the right Led Driver is not a minor specification task. It affects light quality, energy use, dimming behavior, and service life. A fixture may look perfect on paper, yet flicker when paired with an incompatible driver. Small details matter.
The U.S. Department of Energy reports that LED lighting uses at least 75% less energy than incandescent lighting. That efficiency depends on the whole system, including the driver that regulates current and voltage. IEA Executive Director Fatih Birol has called energy efficiency “the first fuel.” His point applies here: efficient LEDs need well-matched components, not just efficient chips.
Start with the LED module’s required output current and voltage range. Then check driver power, dimming compatibility, operating temperature, and protection ratings. For example, a dimmable fixture may still flicker if its driver and control system are mismatched. Also consider where the driver will sit. A sealed ceiling cavity can run hot, and heat can shorten component life.
Lighting research and product specifications deserve careful reading. Check test conditions, not only headline efficiency figures. An IP rating may matter outdoors; low ripple may matter in spaces with cameras or sensitive visual tasks. There is no universal best driver. I would not choose one by wattage alone, though that shortcut is tempting. A better choice matches the load, controls, environment, and maintenance plan. This guide explains how to compare those factors and select a Led Driver with confidence—while leaving room to question claims that sound too neat.
Identify the LED Load and Its Electrical Requirements
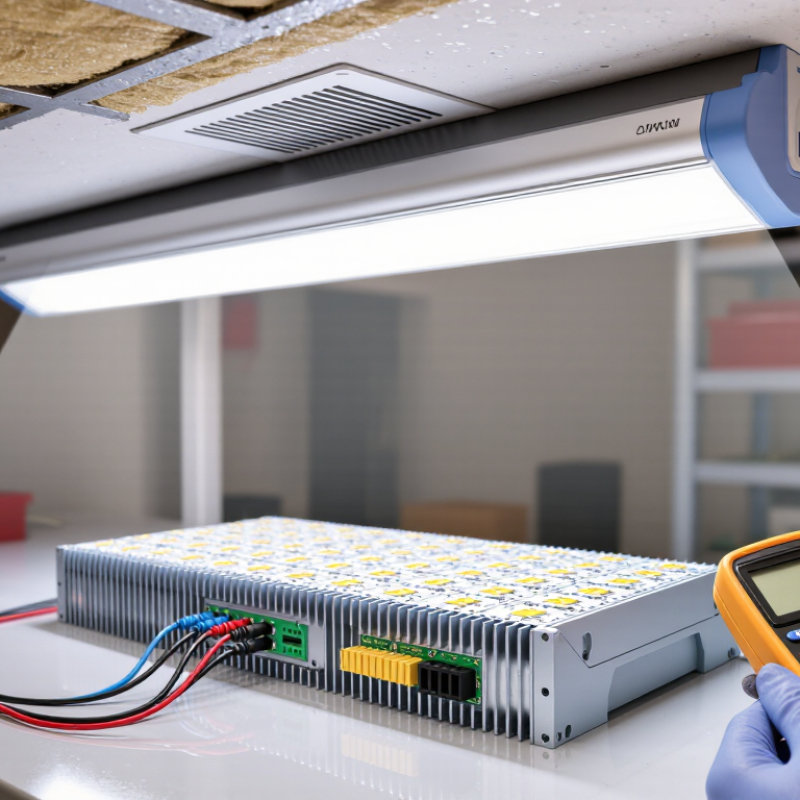
Choosing an LED driver begins with identifying the load, not guessing from the fixture’s appearance. A bare LED array usually needs constant current, while many LED strips and modules use constant voltage. Check the product label or technical sheet to confirm which type applies. Small detail, big difference.
For a constant-current load, match the driver’s output current to the LED’s rated current, then check that the LED’s forward-voltage range falls within the driver’s output range. For a constant-voltage load, match the voltage exactly and add the wattage of every connected section. Keep the total within the driver’s rated capacity, with suitable operating headroom. A quick calculation can still miss inrush or temperature effects, so verify the manufacturer’s specifications.
Also check dimming compatibility, minimum load, and the installation environment. A dimmer may work with one driver type but flicker with another. Note whether the unit will sit in a warm ceiling cavity, outdoors, or inside a sealed enclosure; heat can shorten service life. I would record the LED’s voltage, current, and total wattage before comparing drivers. It feels tedious. It prevents avoidable mismatches.
How to Choose the Right LED Driver? – Identify the LED Load and Its Electrical Requirements
| LED load example |
Required driver type |
LED electrical requirements |
Estimated load |
Example driver output to consider |
Key selection check |
| Single COB LED |
Constant current |
700 mA; forward voltage approximately 30–38 V |
About 25.2 W at 36 V nominal |
700 mA output, voltage range covering the COB’s specified forward-voltage range, and sufficient rated power |
Match the driver current to the LED’s rated current. Confirm that the driver’s output-voltage range includes the LED’s actual forward voltage. |
| Six high-power LEDs connected in series |
Constant current |
1 A; approximately 2.8–3.4 V forward voltage per LED |
Approximately 18 W nominal; total forward voltage is about 16.8–20.4 V |
1 A output with a voltage range that covers the total series-string voltage |
For series-connected LEDs, the same current flows through every LED. Check the combined minimum and maximum forward voltage. |
| 5 m of 24 V LED strip rated at 4.8 W/m |
Constant voltage |
24 V DC; use the strip’s stated power per metre |
24 W total (5 m × 4.8 W/m), or about 1 A at 24 V |
24 V DC output with at least 1.25 A capacity (30 W) as an illustrative 25% capacity margin |
Use the exact voltage specified for the strip. For long runs, check the manufacturer’s guidance on voltage drop and power-feed locations. |
| Four 12 V LED modules rated at 3 W each |
Constant voltage |
12 V DC; modules connected in parallel |
12 W total (4 × 3 W), or about 1 A at 12 V |
12 V DC output with at least 1.25 A capacity (15 W) as an illustrative 25% capacity margin |
Keep the output voltage at 12 V and confirm that the driver can supply the combined current of all parallel modules. |
Selection notes:
These are illustrative calculations; use the LED datasheet’s specified current, voltage, and power values for the actual load. A 20–25% capacity margin can be a useful starting point, but it does not replace checking the driver’s output limits, operating temperature, and installation conditions. Also confirm that the driver’s input-voltage range matches the available AC supply and that its dimming method, if needed, is compatible with the control system.
Match the Driver’s Output Current and Voltage to the LEDs
A suitable LED driver must match the load’s electrical needs, not just its advertised wattage. For a constant-current LED, set the driver current to the LED manufacturer’s rated operating current. A 700 mA LED string, for example, needs a driver designed to deliver 700 mA. Too much current can cause excess heat, faster light loss, or early failure. Small mismatch, big trouble.
Driver voltage matters too. For LEDs wired in series, add their forward voltages to estimate the string voltage. Choose a driver whose stated output-voltage range covers that value, with suitable headroom. Forward voltage varies somewhat with temperature and component variation, so avoid sizing right at the range limit. Check datasheets, not assumptions. For parallel strings, current can divide unevenly unless the design includes proper balancing.
A common mistake is comparing only total watts; the numbers can match while current or voltage does not. That shortcut looks convenient, but it is not dependable. Check the driver’s current rating, voltage range, output type, and dimming requirements against the LED specifications. During commissioning, measure output under the actual load and check for flicker or unusual heating. Even careful calculations can miss wiring resistance or heat inside an enclosure. That deserves a second look.
Calculate Required Power and Allow for Operating Headroom
Choose a driver from the load’s actual wattage, not the fixture’s headline rating alone. Multiply each LED section’s watts per metre by its installed length, then add every connected section. For example, five metres rated at 9.6 W per metre draw 48 W. A 20% allowance brings the target to about 58 W, so a 60 W driver is a sensible starting point. Keep the allowance practical; oversizing far beyond the load can reduce efficiency at normal operating levels.
Check voltage, output current, dimming method, and the driver’s temperature rating before purchasing. A 24 V load needs a compatible 24 V constant-voltage driver; matching wattage alone is not enough. The U.S. Department of Energy’s 2019 Energy Savings Forecast projected 569 TWh of annual lighting-energy savings from solid-state lighting by 2035. That system-level opportunity depends on components operating reliably, not just efficient LEDs. Small details matter.
Heat changes the calculation. A driver enclosed above insulation or inside a warm cabinet may deliver less power than its room-temperature rating suggests. The DOE report LED Luminaire Lifetime: Recommendations for Testing and Reporting identifies operating temperature as important to lifetime assessment. Leave space around the driver and check its derating curve. The estimate is never exact; cable length, ambient heat, and dimming can shift the real load. Measure the installed circuit when possible.
Choose a Driver Type and Dimming Method
A driver must match the LED load, not just its total wattage. Many LED modules require constant current, while flexible LED strips commonly use constant voltage. Check the fixture label or technical sheet for the required output current and voltage. A mismatch can cause unstable light or shorten component life. The fit matters.
Then choose a dimming method that both the driver and control system support. A 0–10 V control uses separate low-voltage signal wires, so confirm the wiring is available. PWM dimming rapidly switches the output and is common with compatible low-voltage strips. Phase-cut dimming works with certain mains-powered setups, but compatibility varies. Do not assume a wall dimmer will work with every driver.
Consider the actual room, too. In a kitchen, a driver that dims smoothly at low output can make evening lighting more comfortable. Check the stated dimming range, minimum load, and flicker information. Test the driver with the intended control before ordering several units. One detail is easy to miss: a setup may dim well at full brightness but flicker near its lowest setting. A short bench test can reveal that.
Check Protection Ratings, Certifications, and Installation Conditions
A suitable LED driver must match the fixture’s electrical needs and the place where it will operate. Check its output current and voltage against the LED specifications, then review protections such as short-circuit, overcurrent, and overtemperature shutdown. For a dry indoor ceiling, a basic enclosure may be adequate. A damp garage or exposed sign needs a driver with an ingress-protection rating suited to moisture and dust exposure. An IP number is not a quality score; it describes specific protection conditions.
Heat still matters. A sealed driver can trap warmth, so check its permitted ambient temperature and leave the clearance stated in its instructions. Dust, insulation, and nearby hot surfaces can raise operating temperature. Confirm that safety and electromagnetic-compatibility certifications apply to the exact model and the market where it will be installed. A printed mark alone is not enough; check the supporting documentation. Also verify dimming compatibility and wiring requirements before installation. It is easy to focus on the rating label and miss the actual mounting conditions. That oversight can shorten service life, even when the driver appears correctly specified.