
7 Tips for Choosing the Best Bottle Sterilizing System?

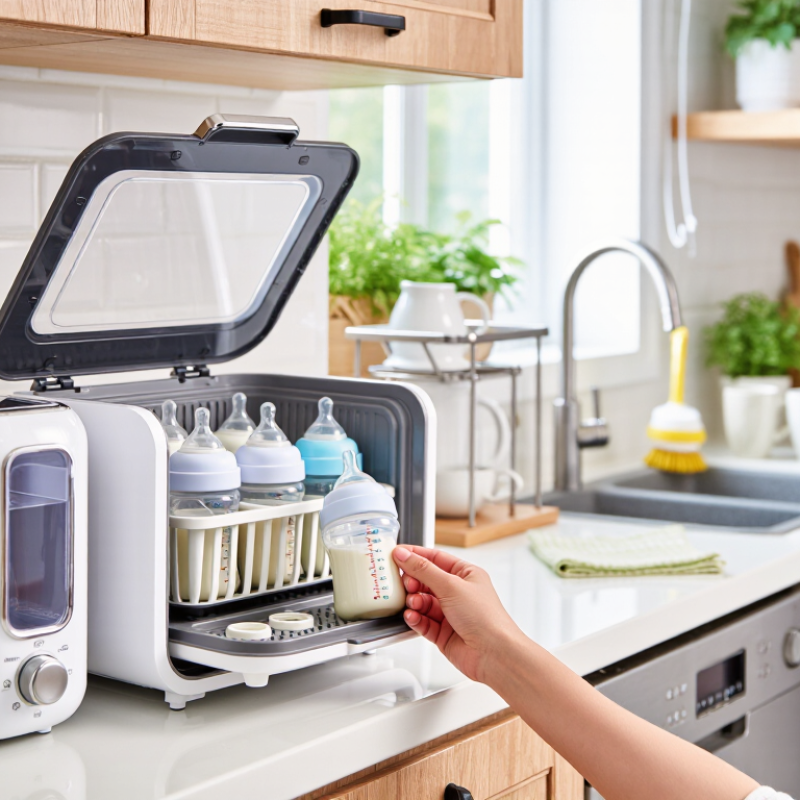
Choosing a Bottle Sterilizing System is about more than picking the fastest machine. The right choice should fit your bottles, daily routine, and available counter space. It should also make cleaning and safe handling straightforward. Small details matter: Can the basket hold several bottle parts? Is the water tank easy to reach? Will the system fit beneath your kitchen cabinets?

Dr. William A. Rutala is an infection-prevention expert whose work focuses on disinfection and sterilization. A practical takeaway from his work—not a verbatim quotation—is: “A reliable process matters more than a feature-packed machine.” That idea helps frame these seven tips. Compare steam, microwave, and other system types, then check cycle time, capacity, drying options, and the manufacturer’s care instructions. A glossy display is not proof of better performance. Neither is a high price.

Your routine matters, too. Bottles and components need thorough cleaning before sterilization, and parts must be handled with clean hands afterward. Follow the product instructions, especially when bottles use materials that may not tolerate heat. For young infants or babies with specific health needs, ask a healthcare professional which sterilizing routine is appropriate. Even careful parents can miss a small valve or ring. It happens. The goal is a system you can use correctly, day after day—not one that looks impressive and gathers dust.
7 Tips for Choosing the Best Bottle Sterilizing System?

Start with Risk: CDC Advises Daily Sanitizing for Infants Under 2 Months

Risk should guide your choice of bottle sanitizing system. The CDC advises daily sanitizing of feeding items for infants younger than two months, babies born prematurely, and infants with weakened immune systems. Clean bottles with soap and water before sanitizing; heat cannot remove leftover milk or formula. Small details matter. Check nipples, rings, and bottle seams for residue.

Choose a system that fits your routine, not just your counter. Steam models need a safe, flat surface and time to cool before opening. Microwave systems require microwave-safe parts and enough water, measured as directed. Some dishwashers have a sanitizing setting, but confirm that each feeding item can handle its heat. I’d also check whether the system holds the parts you use every day. A crowded rack can leave items unevenly exposed. Not ideal.

After sanitizing, handle clean parts with washed hands and let them air-dry on a clean surface, unless the instructions say otherwise. Avoid wiping them with a kitchen towel, which may transfer germs. Read the care instructions for mineral buildup and damaged parts; a cracked bottle or worn nipple needs attention. If your baby has specific medical needs, ask a clinician whether daily sanitizing should continue beyond the early months.

Compare Steam, UV-C, and Chemical Systems by Their Tested Efficacy Claims

When comparing bottle sterilizing systems, read the test behind the efficacy claim, not just the headline. Check which microorganisms were tested, how many were reduced, and whether the test used clean bottles or milk residue. A strong result under laboratory conditions may not match a crowded counter or a rushed cycle. That matters.

Steam systems use heat, so check the required cycle time, drying method, and compatibility with bottle materials. UV-C systems depend on light reaching the surface; shadows from nipples, valves, or stacked parts can limit exposure. Ask whether testing covered those hard-to-reach areas.

Chemical systems should state the active ingredient, contact time, and rinsing requirements, if any. Do not assume a shorter process is equally effective.

Compare independent test reports where available, and look for clear methods and repeatable results. Check whether the evidence applies to your exact use, including load size and routine cleaning. A bottle that looks spotless is not proof of microbial reduction.

Nor does one test settle every question. I would be cautious about broad claims that omit test conditions; even a detailed label can leave practical gaps. Follow the system’s instructions, inspect parts for residue or damage, and keep clean components from touching dirty surfaces after treatment.

Match Sterilizer Capacity and Cycle Time to Your Daily Bottle Load

Capacity should fit your real daily bottle load, not an idealized one. Count the bottles your household uses between washes, then allow room for nipples, collars, and pump parts if the system supports them. A crowded rack can block steam from reaching every surface. An oversized unit may consume counter space without saving time.

The American Academy of Pediatrics advises that newborns typically feed 8 to 12 times in 24 hours. That makes a small-capacity sterilizer a poor fit for some families, especially when bottles are not washed after every feed. CDC guidance recommends daily sanitizing for babies younger than two months, babies born prematurely, and babies with weakened immune systems. Clean items before sanitizing, as CDC guidance directs.

Cycle time matters just as much as capacity. Check the full run, including drying and cooling, rather than relying only on the advertised sterilizing time. A quick cycle is useful when clean bottles are running low. Still, it may not suit a large load. Not the whole cycle. Keep one clean bottle set available while another load runs. It is an imperfect buffer, but it can prevent rushed handling. Test the system against your busiest day before deciding its capacity works.

7 Tips for Choosing the Best Bottle Sterilizing System? - Match Sterilizer Capacity and Cycle Time to Your Daily Bottle Load

Sterilizing System Example Capacity Typical Cycle Time Cycles for 12 Bottles Daily-Load Consideration
Electric steam sterilizer 6 bottles About 8–15 minutes 2 A practical option for regular use; check whether the stated cycle time includes cooling.
Microwave steam sterilizer 4 bottles About 2–8 minutes, depending on microwave power 3 Compact and quick per batch, but repeated batches add handling time; follow the unit’s water and power instructions.
Steam sterilizer with drying function 6 bottles About 30–60 minutes for a full sterilize-and-dry cycle 2 Useful when dry storage is important; allow for the longer combined cycle time.
UV-C sterilizing cabinet 8 bottles About 30–60 minutes, depending on the cycle 2 Can handle a larger batch; arrange items as directed so surfaces receive the required UV exposure.
Cold-water sterilizing solution 4 bottles in the example container At least 30 minutes for many solutions 3 batches, or one larger container Does not require electricity, but items must remain fully submerged for the solution’s stated contact time.

Example comparison assumes a daily load of 12 bottles and the capacities shown. Cycle duration and capacity vary by model, load arrangement, and operating instructions; always follow the sterilizer and bottle manufacturers’ guidance.

Check Standards: EN 13060 Covers Small Steam Sterilizers Under 60 L

When comparing bottle sterilizing systems, check what the standards claim actually covers. EN 13060 addresses small steam sterilizers with chambers under 60 litres. It sets requirements and test methods for this equipment. It does not automatically apply to every countertop steam device marketed for bottles.

Read the technical documents, not just the product label. Look for the standard’s edition, the sterilizer’s intended use, and the load types covered by its instructions. A cycle tested for wrapped instruments may not be suitable for loose bottles, teats, or pump parts. Details matter. Check whether the manufacturer provides cycle parameters, loading guidance, and maintenance requirements. If documents are vague, ask how performance was tested.

Also consider your actual routine. Can bottles sit without touching one another? Is there room for steam to reach their interiors? A crowded rack can undermine a carefully designed cycle. EN 13060 is a useful reference, not a substitute for checking that a particular device and cycle suit your items. It is easy to assume “under 60 litres” means “right for bottles.” It doesn’t.

Compare Bottle Compatibility, Drying, and Lifetime Operating Costs

Bottle compatibility is more than a question of whether bottles fit inside the chamber. Check the rack spacing, neck width, and room for pump parts, caps, and small accessories. A wide-neck bottle may sit securely while a narrow one tips over. Fit matters. Review the system’s instructions for approved materials, since not every plastic component tolerates every heat setting.

Drying can save time, but compare how it works. Some systems use heated air; others leave items to air-dry after sterilization. Look for clear guidance on cycle length, filter changes, and cleaning the chamber. Moisture lingers. If bottles still feel damp, check whether the rack is overloaded or parts are assembled in a way that blocks airflow. Sterilizing does not replace washing: clean items as directed before loading them.

Lifetime cost includes more than the purchase price. Estimate electricity use from the stated cycle time and how often you expect to run it. Add replacement filters, descaling supplies, and any parts that may wear out. These estimates are imperfect; household use rarely follows a neat schedule. A simple comparison can still help: note the upfront cost, routine supplies, and expected cycles per week. Also check warranty coverage and whether replacement parts are easy to obtain. A cheaper unit may cost more over time if its maintenance needs are frequent or unclear.