How to Choose the Right Low Voltage Lighting Transformer
Choosing the right Low Voltage Lighting Transformer is more than matching a wattage number. It affects brightness, cable performance, safety, and the long-term reliability of an outdoor lighting system. A transformer that looks powerful on paper may still produce dim fixtures at the far end of a garden path.
Randall Whitehead, an architectural lighting designer and educator, has said, “Lighting is the jewelry of architecture.” His observation applies to transformers, too. The hidden equipment must support the visible result without creating flicker, buzzing, or uneven illumination. Start by adding the wattage of every fixture, then allow a practical reserve of roughly 20 percent. Check the transformer’s output voltage, total VA capacity, dimming compatibility, and timer or photocell functions. These details matter beside a wet driveway or under a shaded deck.
Measure the cable distance carefully. Long runs can create voltage drop, especially with thin cable or overloaded circuits. A split-load design may perform better than one crowded run. Weather-resistant construction and appropriate certification should also guide the purchase. Local electrical requirements still matter, even for small residential projects.
Small choices matter.
There is no universal best model. A compact garden installation may need a simple, dependable unit, while a larger landscape may require multiple circuits and professional testing. I would not choose a transformer from wattage alone. That shortcut seems convenient, but it can hide real installation problems. This guide will compare transformer types, sizing methods, wiring considerations, and common selection mistakes, helping readers make a safer and more informed decision.
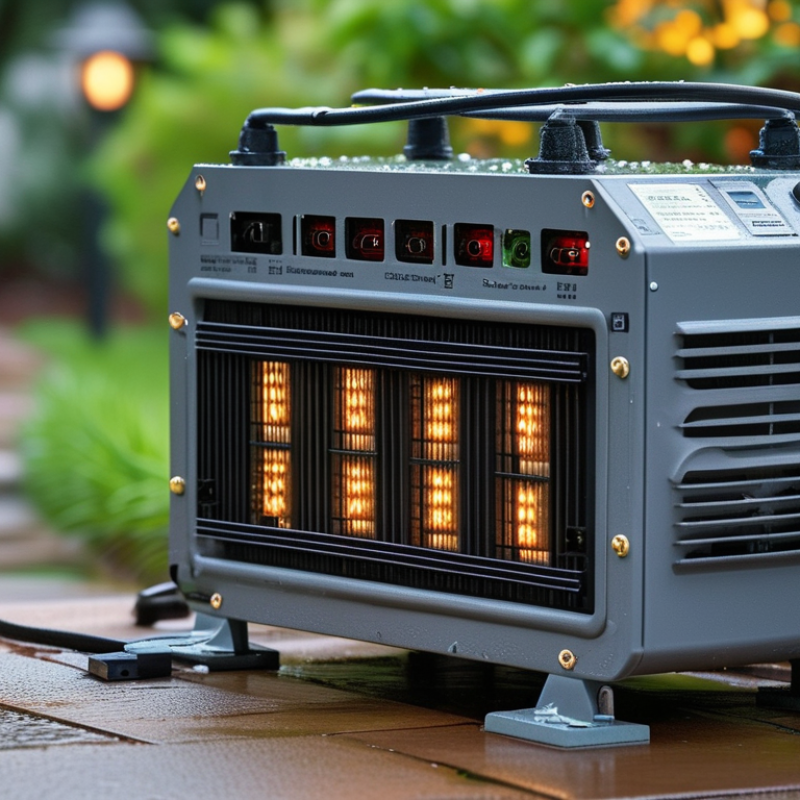
Understanding Low Voltage Lighting Transformer Basics
Choosing a low voltage lighting transformer starts with understanding what it does. It converts household voltage into a safer, lower output, commonly 12 or 24 volts. That output powers landscape lights, pathway fixtures, and accent lighting. The transformer does not simply “make lights work.” Its capacity, wiring distance, and control features affect the entire system.
Check the total wattage of every fixture before selecting a unit. Add the loads together, then allow roughly 20 percent extra capacity for startup demand and future additions. For example, eight 5-watt fixtures need 40 watts, so a transformer rated near 50 watts provides useful breathing room. I have seen installations fail because the calculation ignored cable length. Voltage can drop across long runs, causing dim or uneven lights. Thicker cable or separate runs may correct that problem.
Pay attention to the transformer’s output taps, timer, photocell, and dimming compatibility. Multiple taps can help compensate for voltage loss, but they need careful testing with a meter. Choose an enclosure rated for the installation location, especially where rain, soil moisture, or sprinklers are present. Follow local electrical requirements and use weather-resistant connections. A qualified electrician should verify grounding, circuit protection, and installation clearance. I still recheck these details, because a neat-looking installation can hide a poor connection. Small errors matter. Testing the farthest fixture at night often reveals problems that daytime inspection misses.
How to Choose the Right Low Voltage Lighting Transformer - Understanding Low Voltage Lighting Transformer Basics
| Selection Dimension | What to Check | Typical Guidance | Why It Matters |
|---|---|---|---|
| Input Voltage | Verify the available supply voltage and frequency. | Common residential supplies include 120 V AC, while some installations use 208 V, 220 V, 230 V, or 240 V AC. | A transformer must match the supply circuit to operate safely and deliver the intended output. |
| Output Voltage | Match the transformer output to the lighting system and fixture requirements. | Outdoor landscape lighting commonly uses 12 V or 13 V systems; some equipment is designed for 24 V. | The wrong voltage can cause poor light output, shortened lamp life, overheating, or equipment damage. |
| Transformer Capacity | Add the wattage of all connected fixtures and accessories. | Choose a capacity at least 20% higher than the calculated connected load. For example, a 240 W load generally requires a transformer rated for at least 300 W. | Reserve capacity helps manage startup current, future additions, and normal operating variation. |
| Wattage Calculation | Calculate total load using the actual rated wattage of every fixture. | Total load = number of fixtures × wattage per fixture, plus compatible accessories such as timers or control modules when applicable. | Accurate sizing prevents overloading and makes it easier to select suitable cable and circuit protection. |
| Load Type | Identify whether the system uses LED, halogen, incandescent, or mixed loads. | LED fixtures generally consume less power, but their drivers may have inrush current or compatibility requirements. | A transformer suitable for one load type may not perform correctly with another, especially when dimming is required. |
| Constant-Voltage Compatibility | Confirm that the transformer provides the type of output required by the fixtures. | Most low-voltage lighting systems require a stable low-voltage AC output, while some LED systems require low-voltage DC from a dedicated driver. | AC and DC outputs are not automatically interchangeable; the fixture specifications must be followed. |
| Voltage Drop | Consider cable length, conductor size, and the load at the end of each run. | Longer runs and smaller conductors create greater voltage drop. Larger cable, shorter runs, or multiple circuit runs can reduce the effect. | Excessive voltage drop can produce dim or uneven lighting and may affect LED driver performance. |
| Output Taps | Check whether selectable output terminals are available. | Some transformers provide higher-voltage taps, such as 12 V, 13 V, or 14 V, to compensate for voltage drop; use only within fixture limits. | Taps can help maintain suitable voltage at distant fixtures, but excessive voltage may shorten fixture life. |
| Enclosure Rating | Select an enclosure designed for the installation environment. | Use a weather-resistant enclosure for outdoor locations and install it according to the applicable safety requirements. | Proper environmental protection helps prevent moisture intrusion, corrosion, and premature failure. |
| Protection Features | Look for circuit breakers, fuses, thermal protection, and suitable grounding provisions. | Protection should be appropriate for the transformer rating, connected load, wiring method, and local electrical requirements. | Protection devices help limit damage caused by overloads, short circuits, overheating, or wiring faults. |
| Control Options | Determine whether the system needs a timer, photocell, motion sensor, or dimmer. | Confirm that the control device is rated for the transformer output, total load, and lighting technology. | Incompatible controls may cause flicker, unreliable switching, noise, or premature component failure. |
| Installation Location | Provide ventilation, accessibility, and clearance from flammable or heat-sensitive materials. | Mount the unit securely and keep it accessible for inspection, adjustment, and maintenance. | Good placement improves heat dissipation and makes future servicing safer and easier. |
| Certification and Compliance | Check for applicable electrical safety certifications and installation requirements. | Use equipment approved for the intended market and have electrical work completed according to local codes by a qualified professional. | Compliance supports safe operation, inspection approval, and reliable long-term use. |
Practical selection formula: Required transformer capacity ≈ total connected fixture wattage × 1.20. Always verify the fixture, cable, control, and transformer specifications before installation.
Related Posts
-

The Impact of Low Voltage Lighting Transformer Standards on Global Trade
-
Exploring Industry Trends for Led Light Bulbs at the 138th Canton Fair China 2025
-

Maximizing Cost Efficiency with LED Light Bulbs Through Smart Maintenance Strategies
-
Navigating Tariff Challenges: How China’s Outdoor Light Fixtures Thrive Amidst Global Trade Tensions
-

Innovative Solutions for Best Led Landscape Lighting Transforming Outdoor Spaces Worldwide
-

Mastering Your Space: A Comprehensive Guide to Selecting the Best Light Fixtures for Any Project